- Friday, January 30, 2009
- 5 Comments
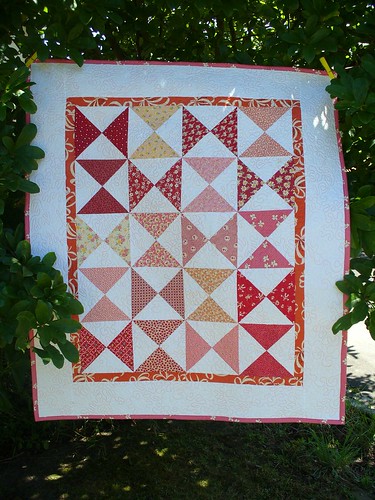
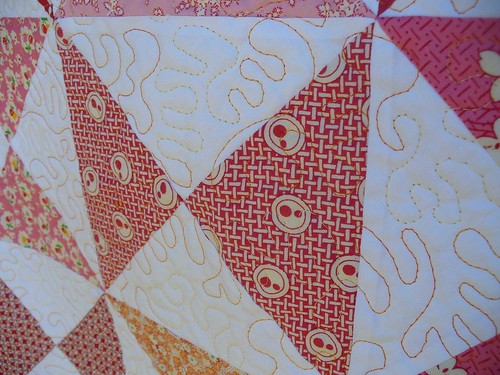
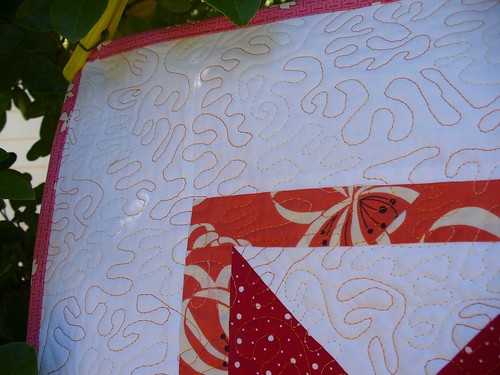
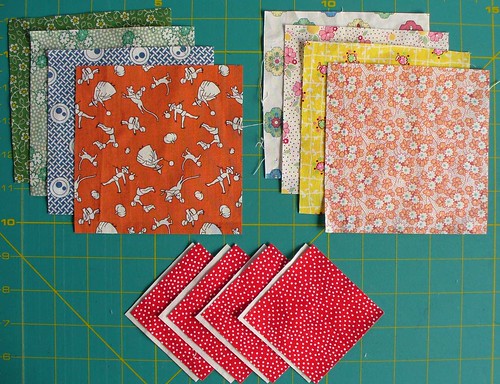
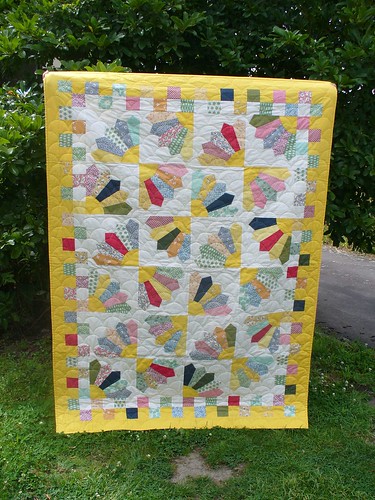
I've never made a pink quilt before. I'm not sure if this could be considered a pink quilt either. It's more of a red, orange, yellow quilt. The colour scheme was definitely inspired by Kathy Mack's Bento Box quilt.
After practicing my stippling, in a neutral colour, on If it's a Boy, I branched out. This time I've used an orange/yellow variegated thread. It was all plain sailing once I managed to get the threads to behave. Having the sewing surface at the correct height and using gloves makes a world of difference too.
I had been put off stippling years ago. Just stitching in the ditch left me with aching shoulders. I couldn't imagine wanting to stipple. I took the opportunity to practice on these smaller quilts. While I am still a beginner at this, I think the key is ergonomics. My next challenge is to try this on a single bed sized quilt.
Now that another project is finished, it's time for a quick stash update:
This week:
Stash Enhancement – 0m (4.65 m Year to Date)
Stash Used – 1.5 (6.85m YTD)
New Fabric Used – 1m (3.65m YTD)
Totals
Stash Enhancement – 4.65 m Year to Date
Stash Used – 6.85m YTD
New Fabric Used – 3.65m YTD
- Monday, January 26, 2009
- 7 Comments

I've spent some quality time sewing with Wonder Woman today. The variegated thread was playing up as I was quilting the girly option. Masses of it slipped off the end of the reel and I was about to give up. I tried decanting it onto bobbins. It was getting time consuming and cumbersome to say the least. Then I remembered a trick I had heard about using a cup to hold the bobbin loosely. I think Wonder Woman sews quite well, saved the day even. I think I'll invite her to help me again sometime.
- Friday, January 23, 2009
- 3 Comments
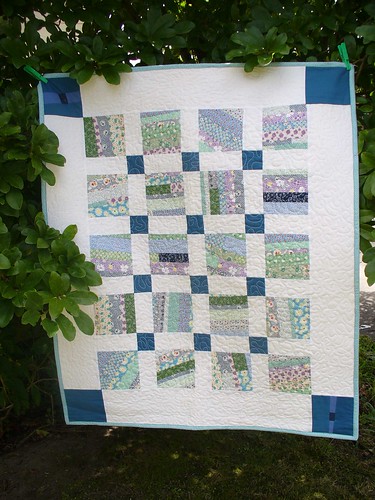
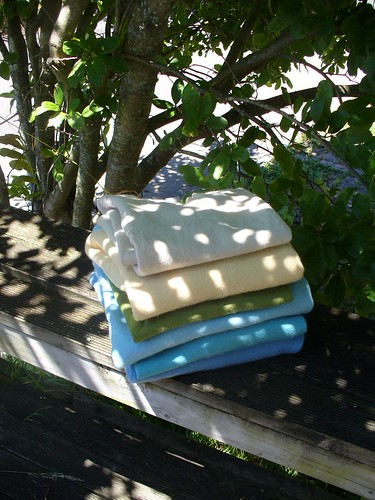
As we don't know the baby's gender, I thought I would get started with an “If it's a Boy” quilt. The blue drawer was pulled out and I got to cutting and stippling.
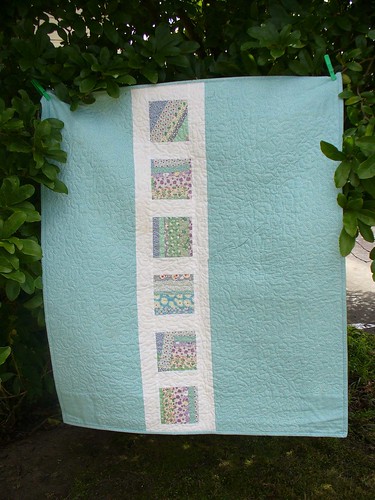
The pattern is “String Quilt with Sashing and Corner Squares” from Gwen Marston's Liberated String Quilts. After selecting about 15 different prints, I took two strips, between 1” and 2” from each and started to sew. The strips came together to make enough for the front and a few for the back. I couldn't bring myself to throw away the offcuts so any piece more than an inch wide was rescued to complete the stripe on the back, leaving 4 orphans blocks for later projects.
I adore the works of Gwen Marston. I have taken “Liberated Quiltmaking” out of the library an uncountable number of times and am still kicking myself for not buying a copy while it was still in print.
I have been adding up the fabric used to date. There are some grey areas in the accounting. Do I count it if it has been cut into to pieces but not used yet? What about small remnants? I have decided to count fabric as being used only when the project is completed. As I have just finished my first projects for the year, here is my first report:
Stash Enhancement – 4.65 m
Stash Used – 5.35m
New Fabric Used – 2.65m
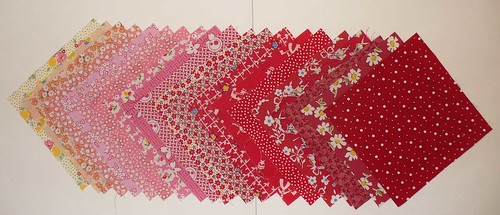
While I am not planning to use exorbitant amounts of fabric this year, I am hoping to use fabric that I have already, more often than fabric that I have just bought. With this in mind, I feel that I am currently on target. This leaves me with a clear conscience to begin cutting into the pink fabric for the “If it's a Girl Quilt”.
- Monday, January 19, 2009
- 10 Comments
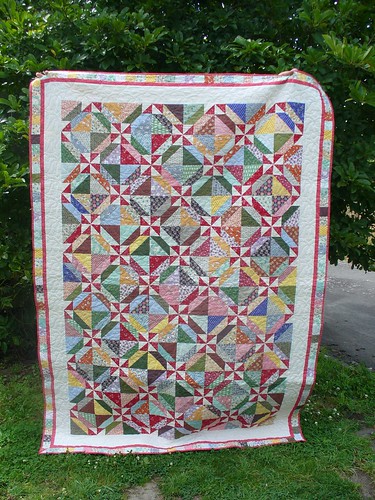
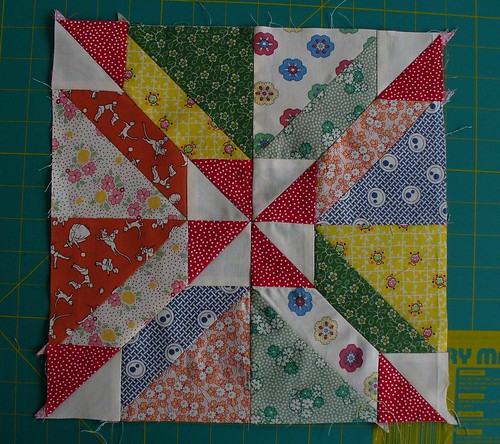
These instructions make a 12 inch (finished, 12 1/2" including seams) Gretchen block. The Gretchen block is traditionally made up of only 2 colours. The following uses a series of light and darks with red and white prints for the pinwheel of each block.
Requirements:
- 4 x 4 7/8” squares light/medium
- 4 x 4 7/8” squares medium/dark
- 4 x 2 7/8” squares white
- 4 x 2 7/8” squares red
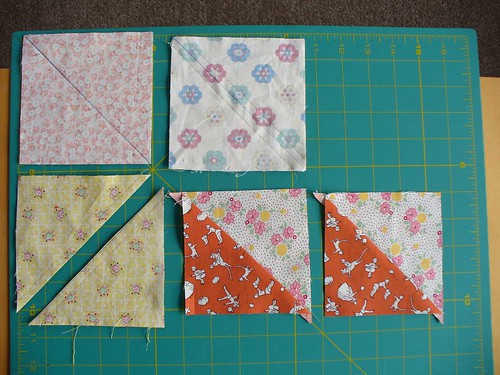
Pair light and and dark fabrics and sew into half square triangles. Separate finished squares into two matching sets.
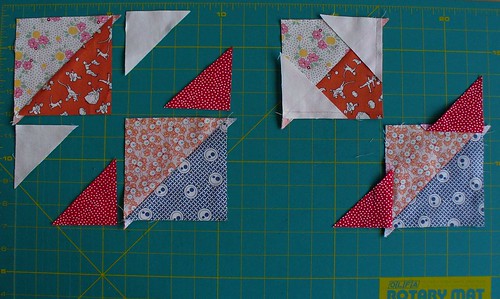
Cut red and white squares diagonally. Pair white triangles with dark prints on one set of sewn squares. Sew triangles to dark fabric as shown. Pair red triangles with light prints on remaining set of sewn squares and sew. Press small triangles outwards. (if you are feeling thrifty, keep the offcut triangles for making something like this)
Step 3
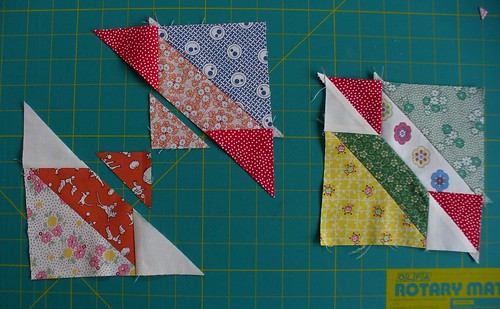
Place ruler over pieces from step 2, lining ruler edge with edge of red or white triangles and cut as shown. Sew units with red triangles to units with white triangles.
Step 4
Combine pairs of subblocks. Ensure that the top red triangle is to the left of centre and white to the right, as shown. Sew and press 2 pairs.
Step 5
Combine pairs to create finished block.
- Wednesday, January 14, 2009
- 18 Comments
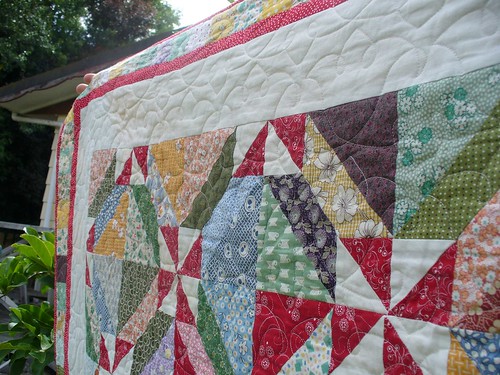
After finishing the Grandmother's fan quilt I had some left over 1930's reproduction fabrics. This pattern really caught my eye and I had to try it. Of course it meant that I needed more fabric. Because the reproductions ranges don't have many dark prints, there are some sneaky substitutions too.
The pattern is a traditional block called Gretchen. While it is usually a two tone pattern, I really like the treatment of the inner pinwheels in red and white, which I first saw in an Australian quilting magazine some years ago.

In many ways, this is a journey quilt. This quilt was started in 2005 while I lived in Auckland. The boarders were sewn on while I lived in Wellington in 2006 and the binding finished after moving again and Little e's arrival in 2007.
I'd love to say that the fabrics were vintage, however they are all reproductions. Even if I had the real thing, I don't think I could bring myself to cut them up.
The quilting isn't mine either. I've had it done by Debbie from Quilter's Lane in Masterton. I'm still working on my free motion quilting. I'm really pleased with how it has come out. If I recall correctly, the quilting pattern was called tulips.
The blue quilt is almost finished. I promise I will get the pictures up as soon as it is washed and ready. I have even had a go at stippling on the blue quilt too.
- Wednesday, January 14, 2009
- 7 Comments
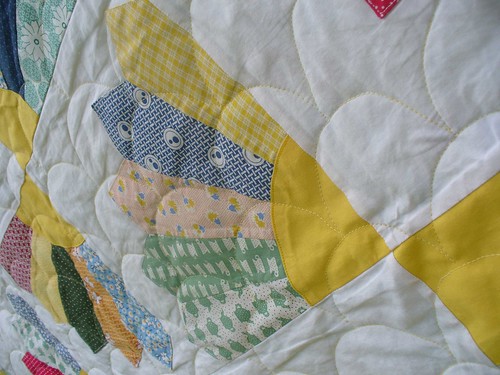 Thank you so much for the lovely comments on the quilt in progress. I'm slowly getting there with only the binding to go. I thought I should share what happened to the the first stash of 1930's fabrics in the mean time.
 I had been looking for something that I could hand piece and decided on a Grandmother's Fan. In between gathering the fabrics and starting the quilt, I came up with a strategy to do it all by machine and so the hand piecing went out the window.
It was certainly a slow work in progress. Started in June 2004 and not finished until the binding was sewn on in June 2007 (it was one of the things in my crazy pre-baby to do list).
It took some time to find the right yolky yellow, not too lemon and not too brownish. The backing is a Trelise Cooper remnant from The Fabric Warehouse. Despite it's long journey, the quilt is still one of my favourites. When we started to redecorate the spare room for Little e's imminent move, I knew just where it would go.
- Sunday, January 11, 2009
- 5 Comments
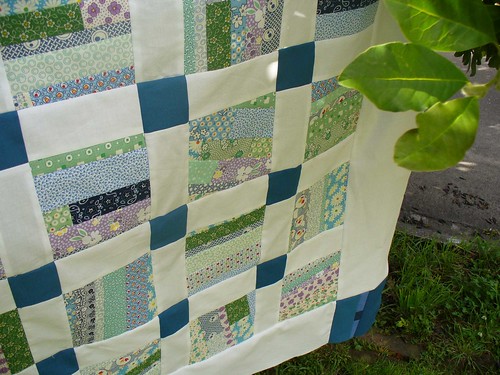
I'm beginning to nibble away at my stash of 1930's fabrics to put this together. It wasn't until I counted up that I realised just how out of hand the stash had become. Fortunatley these were just the fabrics to cut into on a hot summer's day.
My stash of 1930's prints began innocently enough with these two. They appealed to my joint weaknesses for crockery and fabric. I hadn't bought myself to do a count up until yesterday. It appears that there are now about 50 different prints, of various sizes, just begging to be used up.
The colours and prints in this particular quilt remind me of summer shorty pajamas, cool and breezy. If only there were a little more of that today. It has been sweltering hot here, and not cooling down until well into the evening.
- Thursday, January 08, 2009
- 5 Comments
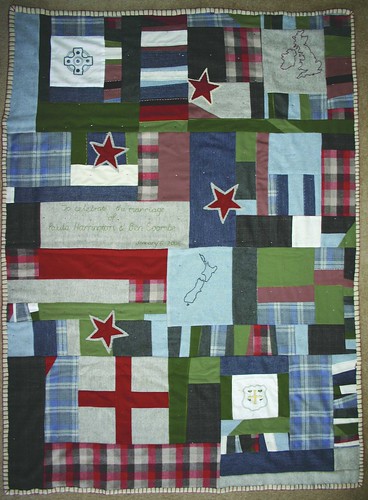
Before whisking away the quilt in the header block, I thought I should tell you what it is. This is Ben and Paula's Wedding Quilt, made for their wedding in 2006.
When I made this quilt I was excited about some of the blanket based works that I saw in the Native Industries store in Kingsland. As usual, I thought "I can do that" and set out to make the quilt far more complicated than the originals.
Of course there was stealth involved. Paula always spoke very highly of her boarding school and so we had to find out which one is was without asking directly. The finished quilt incorporates parts of the national flags for both Ben and Paula – Southern Cross and St George's Cross as well as their school emblems and the fabric offcuts from many, many, woollen skirts and trousers.
The back is simply knotted and looks slightly like a cloak. I couldn't bring myself to trim of those blue lines that are so common in old NZ blankets and hence some of the wobbly edges. If I were to make another, I would wash and block the backing blanket first to avoid the warped edges.
One day I'd like to make another, perhaps with our own family stories and symbols sewn into it.
- Monday, January 05, 2009
- 4 Comments
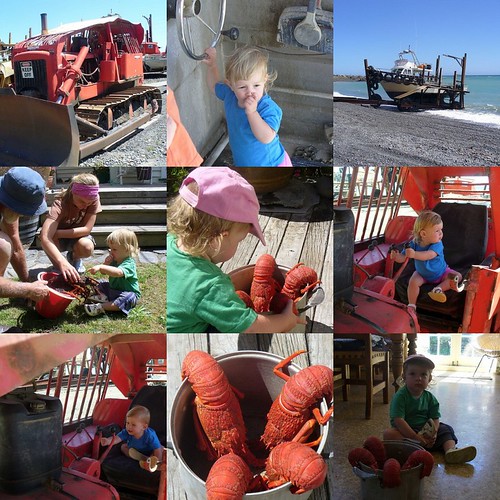
We've taken a few trips to Palliser Bay over the last week. Little e has had a great time learning about Crayfish (rock lobster). Crayfishing runs in my family, both recreational and commercial. She was able to climb over her Uncle's boat and bulldozer and of course inspect some of the day's catch with her Granddad and Aunt E.
(is anyone else having issues with blogger cropping the right side of pics? )
- Sunday, January 04, 2009
- 0 Comments
- Thursday, January 01, 2009
- 2 Comments

